Monday, June 26, 2006

Well it’s been a couple of weeks since my intro post and I have made some decent progress on the boat. It has taken longer then I hoped but things come up and I can't always get to it when I want.

The first step is to make a form over which the hulls will be built. In my case this step was a bit easier as my friend John Lindahl is letting me borrow his old vacuum bag hull mold. This is nice as I know this mold is fair (no hollow areas). I still need to modify it, however, as it was made for a 1/2 inch thick hull and mine is only 1/4 inch. The difference in thickness is due to a different construction technique. The other reason to modify it is to create a wider transom. This mold is for a 5 1/2 inch transom and I need about 8" transom to help displace my weight better.


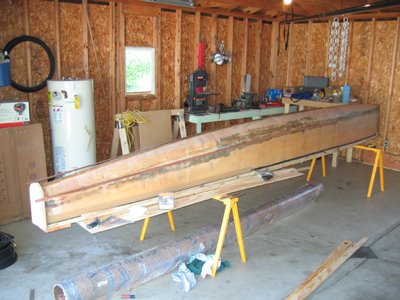
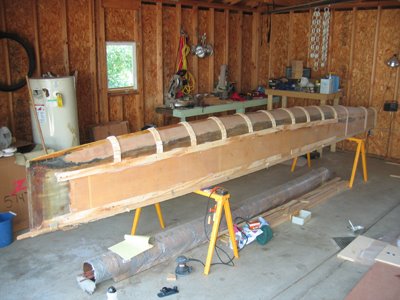
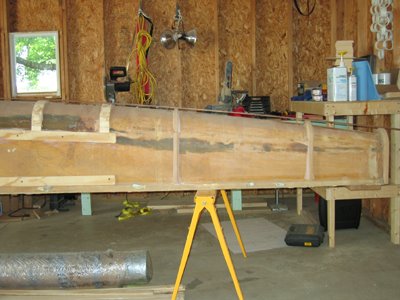
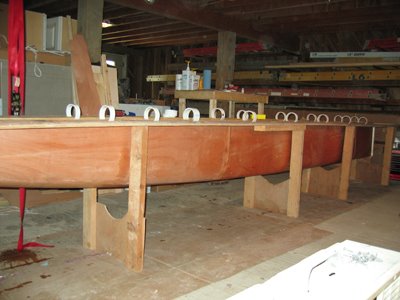
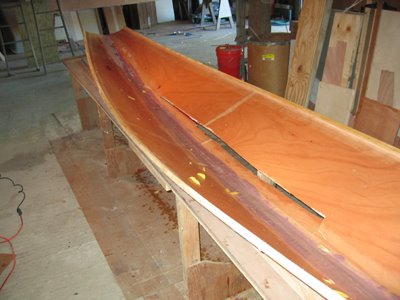
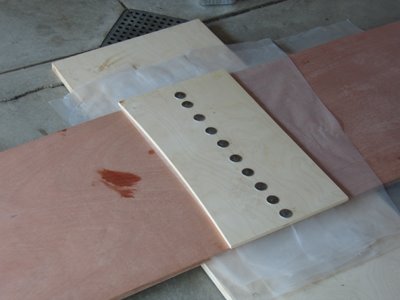
To make the transom wider I had to cut a new transom board (the transom, by the way, is the back of the boat), which you can see in the first image. From this same image you can see the battens (the long strips of wood) and the gap between them and the hull until you get to about the middle. This gap had to be taken up by creating two rings about 1 - 2 feet apart, shown in the second and third image. The second image shows the battens better which also told me how thick to make the rings and keep them fair.

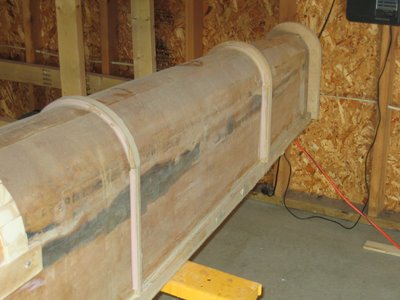
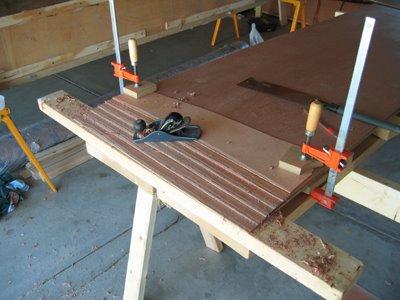
Making the rest of the mold wider was relatively easy by adhering long strips of 2 inch wide by 1/4 inch thick ply-wood running lengthwise on the hull sides, and every foot or so wrapping the rounded hull bottom with 3/4" wide by 1/4 thick pieces of wood as shown is the fourth image. The fifth image shows the battens again and how they fair from the modified transom to the rest of the hull.


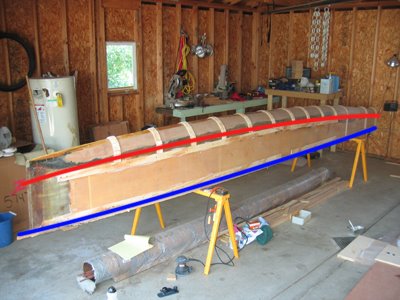
The second step in the process is to create the hull side panels. These panels need to be 18 feet long and made out of 2-2 foot by 8 foot panels and 1-4 foot by 2 foot panel. To do this I have to use a process called scarfing. This is beveling the edge and gluing opposing bevels together. The bevel provides a large enough surface area to glue both panels together. To scarf them I lay up to 5 panels together about an inch apart and hand plane them down and finishing with an orbital sander. To glue them I use a two part epoxy and clamp them by screwing them between two boards. When the panels are assembled I need to cut them to shape a specific shape shown by the blue and red line in the last image. This line is created by measuring from the blue line up to the red line and those dimensions transcribed on to the 18 foot panels. Hopefully I will have that done this Saturday July 01. We shall see it that happens.

Friday, June 02, 2006

Ok, a little background about me and my boat building. I am an industrial designer (product design and development) working for a small design consultant in Holland Michigan. The majority of products we design happen to be boats. This is not necessarily where my joy of boat building comes from, though it does have some influence. My joy in building them comes from wanting a project to work on and needing one that is unique. So my first project was a '17 Chesapeake Light Craft kayak. I finished that about two years ago. After a year I was bored again and needed a new project. Over the past couple of years I was introduced to sailing through my cousin and fell in love with it. So the progression leads to building a sailboat. Throughout building the kayak I had help from a friend who used to build hull and deck plugs (boat terminology, sorry there will be a lot) for the same company I work for now. He, in the past had build several catamarans and suggested I give that a try.

So, last summer I started on my first attempt of building my "A" cat (an "A" class catamaran is '18 long, 7'6 1/2" wide multihull sailboat with 150 square feet of sail. I will be adding links to "A" cat websites soon for those who want to see a complete version of what I am building). My friend, John, told me of three techniques for building the cat. The first is a "stitch and glue" process. this involves joining two flat panels (cut to specific shapes) at the keel (boat term) with plastic zip ties, gluing them together with epoxy and fiberglass tape, then folding them into shape (see photos). The second is strip build, using cedar strips that are 3/4 x 1/4, and lay them together over a form. The third is vacuum bagging. This is a light weight construction of very thin ply-wood with a honeycomb core. It’s then laid over a form and a plastic bag is slipped over it, sealed and the air sucked out of it. I chose to use the stitch and glue method for the first attempt.


hull panels stiched together
hull panels spread apart
hull in jig after folding
the crack
The first hull of the first attempt went ok with a minor problem after folding the hull up. I managed to crack the transom (boat term again). This was pretty easy to fix in the end using some epoxy mixed with some filler and sanded to shape. The second hull, however, did not fair so well. While folding it into shape I managed to put a 9 foot crack down the middle. That makes it kind of difficult to sail. This happened in the fall at which point I needed to clean things up as the family, who was letting me use a portion of their barn needed it to store their own boat for the winter.


It is now spring, I just bought a new house with a huge garage (yes I had the boat in mind while looking at houses) and I'm ready for the second attempt. This time I'm using a modified version of the strip build method. The hull sides will be made up of 4mm Okume ply-wood while the rounded hull bottom will be the strips. This will be a bit easier in construction and certainly less stress on the wood.