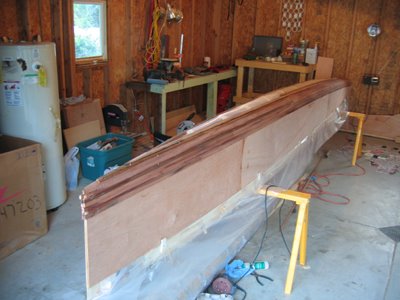
Well things are moving along. I did get the side panels cut and shaped on Saturday July 01 as I hoped but haven't done too much since then. I have to say that this was a rather scary part of the process. I have already thrown way a large chunk of money in the failed first attempt at this boat and could have thrown the same away if I cut these panels wrong. They say measure twice cut once, for me it was measure 10-20 times cut once and measure again just to make sure even though it would have done no good.
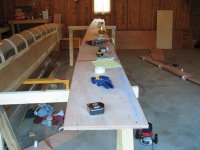
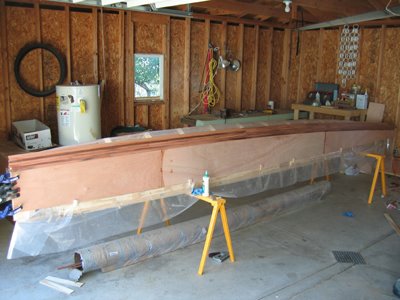
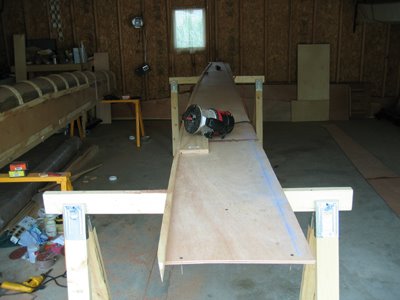
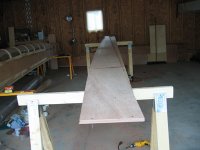
Cutting these panels was actually pretty easy. The shape of the panels had to follow the tangent line between the rounded hull bottom and the flat hull sides, which is not a straight line. If you look back at the previous post and the last photo it shows a blue line and a red line. It is the red line that I need to transcribe onto the panels. To do this I measured every couple of feet from the blue line to the red line and marked those on the panels. Then I took a 19 foot baton that I made and bent it to lay through the points that I measured giving me and edge to draw a line through.
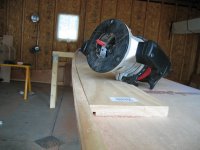
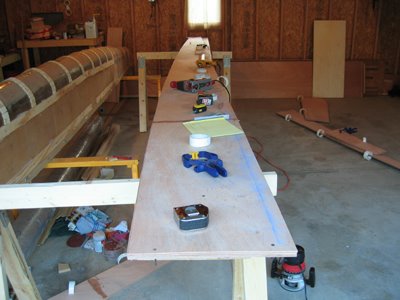
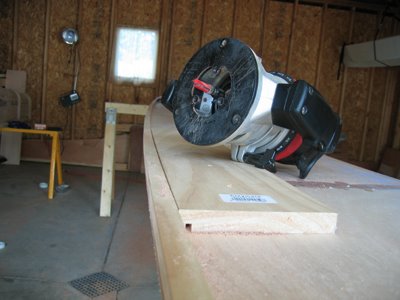
After the line was scribed I removed the baton and eyeball cut with a jig saw about 1/8 inch away from the line. This just removed the mass of material near the line so I could use my router to finish it. When the rough cut was done I replace the baton and used it a router guide to finish the cut and make it clean. Then I need to cut the other side (which would be the top of the hull). After talking with John and his son Ian, who has sailed this boat and many others, we decided that the freeboard (vertical height) of this hull could be lowered by two inches. So I measure two inches up from my base line and repeated the same process as I did for the first cut.
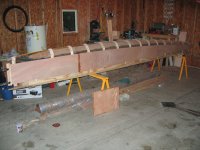
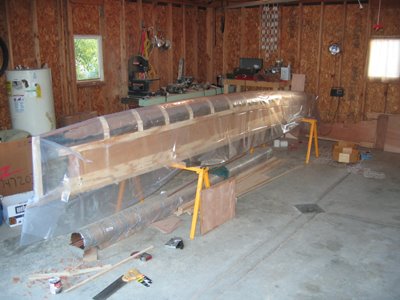
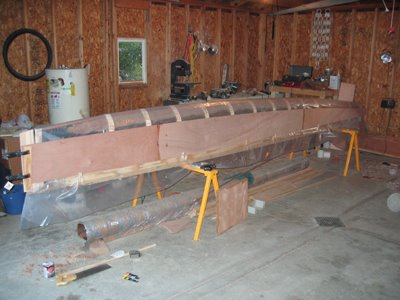
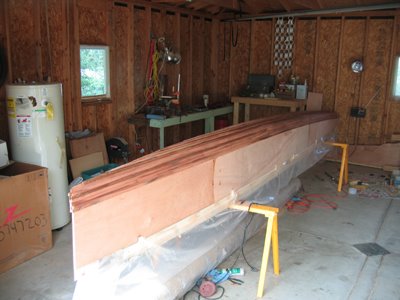
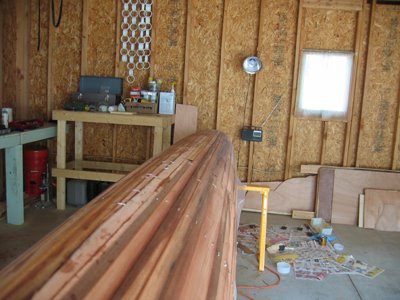
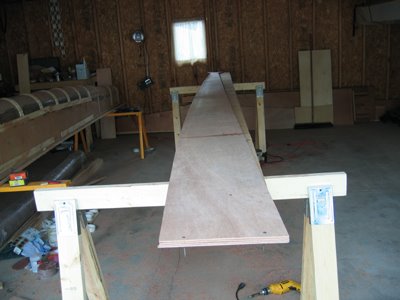
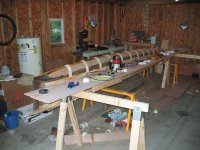
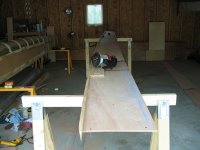
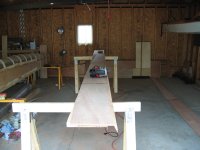
So the panels are now cut and ready to put on the mold. I did a test fit the other day and everything is coming together nicely. I still have a few things left to do on the mold before I wrap it with plastic and begin the actual hull construction.
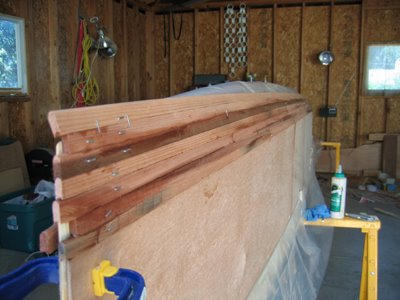
The next step....I first need to make a wedge of wood to fill in the bow of the boat giving it a nice solid edge. This will allow me to round the bow and give it more strength. When that is done I can wrap the mold in plastic sheet. This is so when I glue things up they don't become permanently attached to the mold. That would just suck! Then it’s off to fitting the side panels for the last time and begin gluing in the redwood strips.