The first step is to make a form over which the hulls will be built. In my case this step was a bit easier as my friend John Lindahl is letting me borrow his old vacuum bag hull mold. This is nice as I know this mold is fair (no hollow areas). I still need to modify it, however, as it was made for a 1/2 inch thick hull and mine is only 1/4 inch. The difference in thickness is due to a different construction technique. The other reason to modify it is to create a wider transom. This mold is for a 5 1/2 inch transom and I need about 8" transom to help displace my weight better.
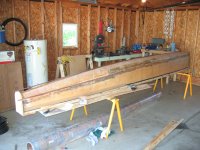
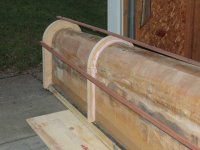
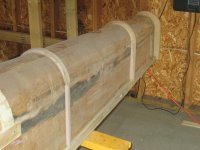
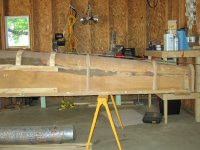
To make the transom wider I had to cut a new transom board (the transom, by the way, is the back of the boat), which you can see in the first image. From this same image you can see the battens (the long strips of wood) and the gap between them and the hull until you get to about the middle. This gap had to be taken up by creating two rings about 1 - 2 feet apart, shown in the second and third image. The second image shows the battens better which also told me how thick to make the rings and keep them fair.
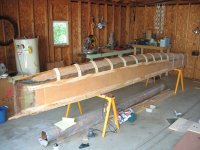
Making the rest of the mold wider was relatively easy by adhering long strips of 2 inch wide by 1/4 inch thick ply-wood running lengthwise on the hull sides, and every foot or so wrapping the rounded hull bottom with 3/4" wide by 1/4 thick pieces of wood as shown is the fourth image. The fifth image shows the battens again and how they fair from the modified transom to the rest of the hull.
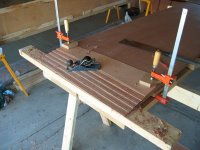
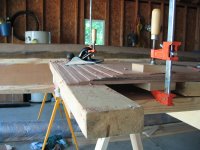
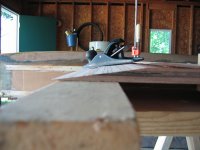
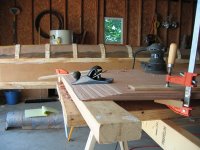
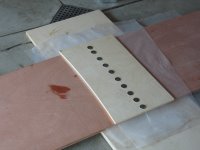
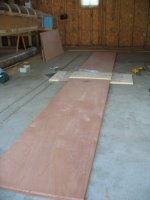
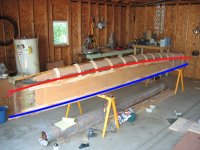
The second step in the process is to create the hull side panels. These panels need to be 18 feet long and made out of 2-2 foot by 8 foot panels and 1-4 foot by 2 foot panel. To do this I have to use a process called scarfing. This is beveling the edge and gluing opposing bevels together. The bevel provides a large enough surface area to glue both panels together. To scarf them I lay up to 5 panels together about an inch apart and hand plane them down and finishing with an orbital sander. To glue them I use a two part epoxy and clamp them by screwing them between two boards. When the panels are assembled I need to cut them to shape a specific shape shown by the blue and red line in the last image. This line is created by measuring from the blue line up to the red line and those dimensions transcribed on to the 18 foot panels. Hopefully I will have that done this Saturday July 01. We shall see it that happens.
No comments:
Post a Comment